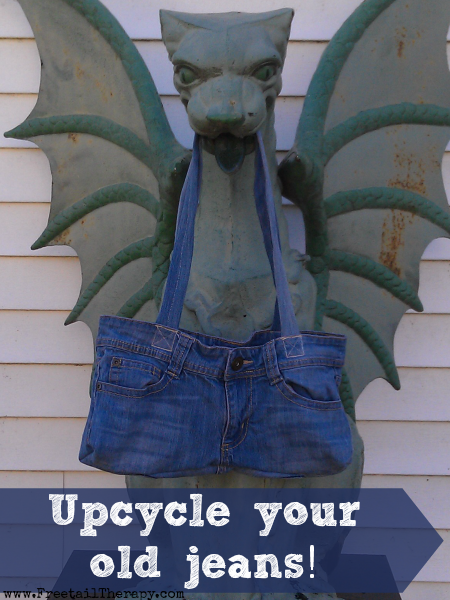
How to Upcycle your old jeans into a handbag!

I have so many old pairs of jeans, some with holes, but many without. I have been saving them, because I wanted to get crafty, and I finally got around to it! I made an adorable little purse, and it didn’t take a whole lot of time or effort.
How to make an upcycled jean purse
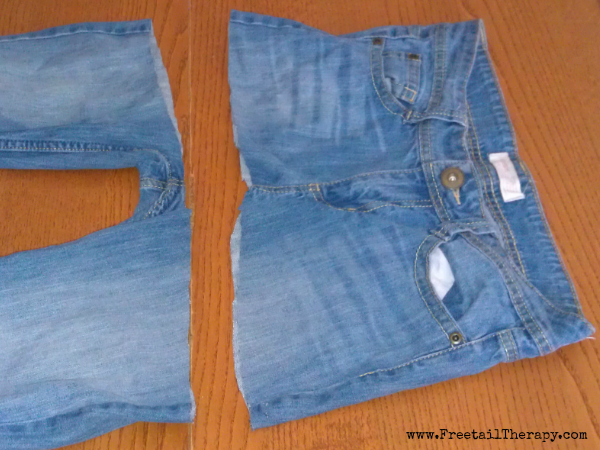
Start by cutting the legs off, right at the crotch area.
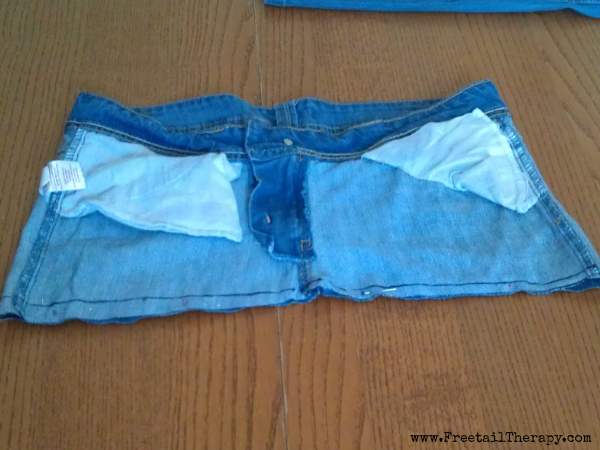
Turn the top part inside out, to start the process. I measured 9″ down on each side, and drew a straight line across, this is where it will be sewn. It doesn’t have to be 9″, but it does have to be even, and below the pockets on the back, you don’t want to be sewing through them.
Next, I took one of the legs and drew a straight line, using my ruler. Then I measured 2.5″ up from that (marked a line on each end and in the middle) and drew another line, then measured another 2.5″ up and repeated the process, so I would have 2 straps. Use the entire length of the leg, so the straps will be long enough.
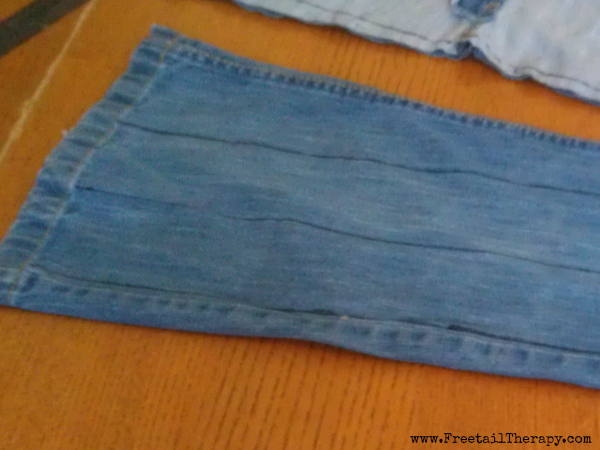
This one is a little hard to explain, but I took the strips that I cut off the leg for the straps, and folded one side in, then took the other side and folded it a little bit and placed it over the other side and sewed down the middle where the two sides connected. This was far easier than trying to sew down one side and turning it outside in. Denim is thick, and that would be to hard to do, so I took the easy way out and think it came out looking pretty good.

Then I went back to the top part of the jeans that I cut off. I sewed a line down the mark, and another to the left of it to make it extra secure.
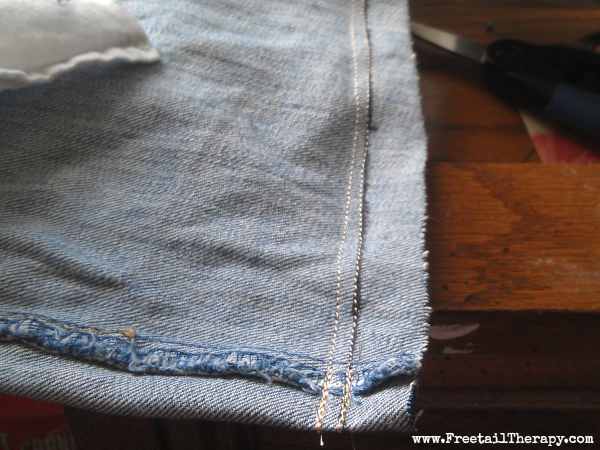
Then, snipped off the extra denim at the bottom.


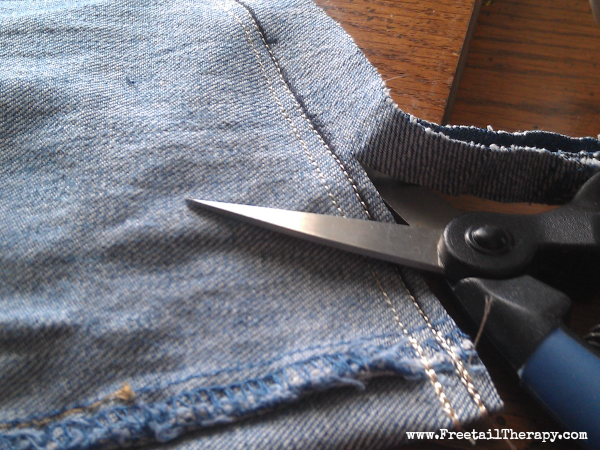
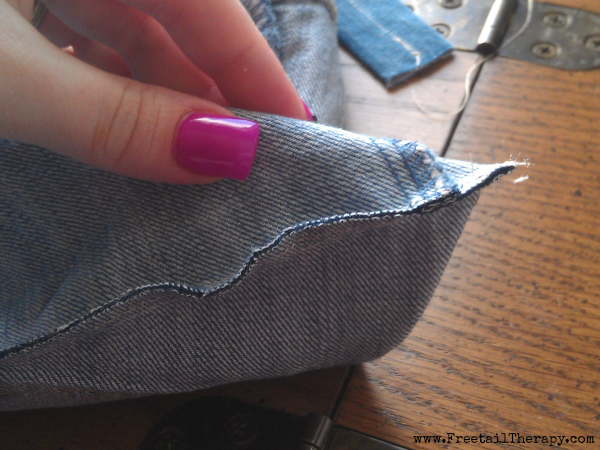
Once the bottom is sewn up, take one of the sides and fold it, against the seam you just created, making a triangle at the bottom corner.
Then sew a line straight down, as shown below. Make sure to double and even triple stitch back on this one, since it is where the bulk of the weight will be in the bag.

You can then snip off the triangle and repeat this same step on the other side of the bag, keeping both sections the same length.

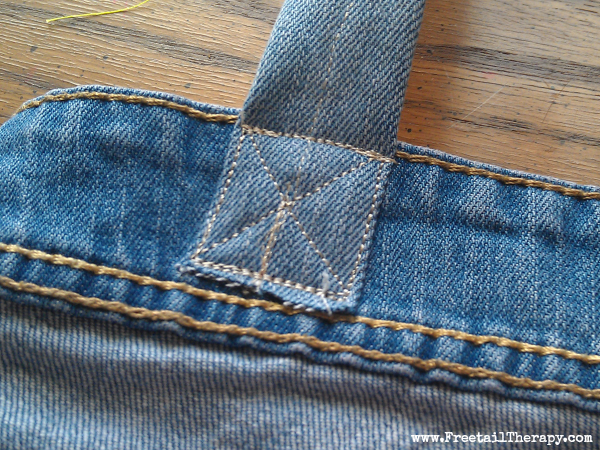
Now it’s time to attach the straps. I put mine on the back first, so I could place them in the middle of the pockets.
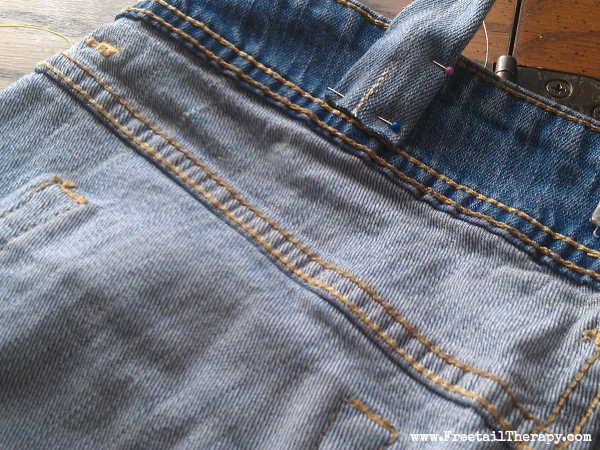
To make sure they are really secure, I sewed a square, then an X and another square.
Repeat on the other side, then match the front straps to the back so they’ll be even, and wallah, you have a new purse! You can add snaps or a zipper for a closure if you like, or just leave it as is. The pockets on the outside all remain functional for your keys, cell phone or other small stuff.